How to Fax Paper Documents Without a Fax Machine
Scan every page into a readable file, check page order and signatures, then send to the confirmed number. A phone can handle the scanning step.
LowFax.com · How to Fax Paper Documents Without a Fax Machine
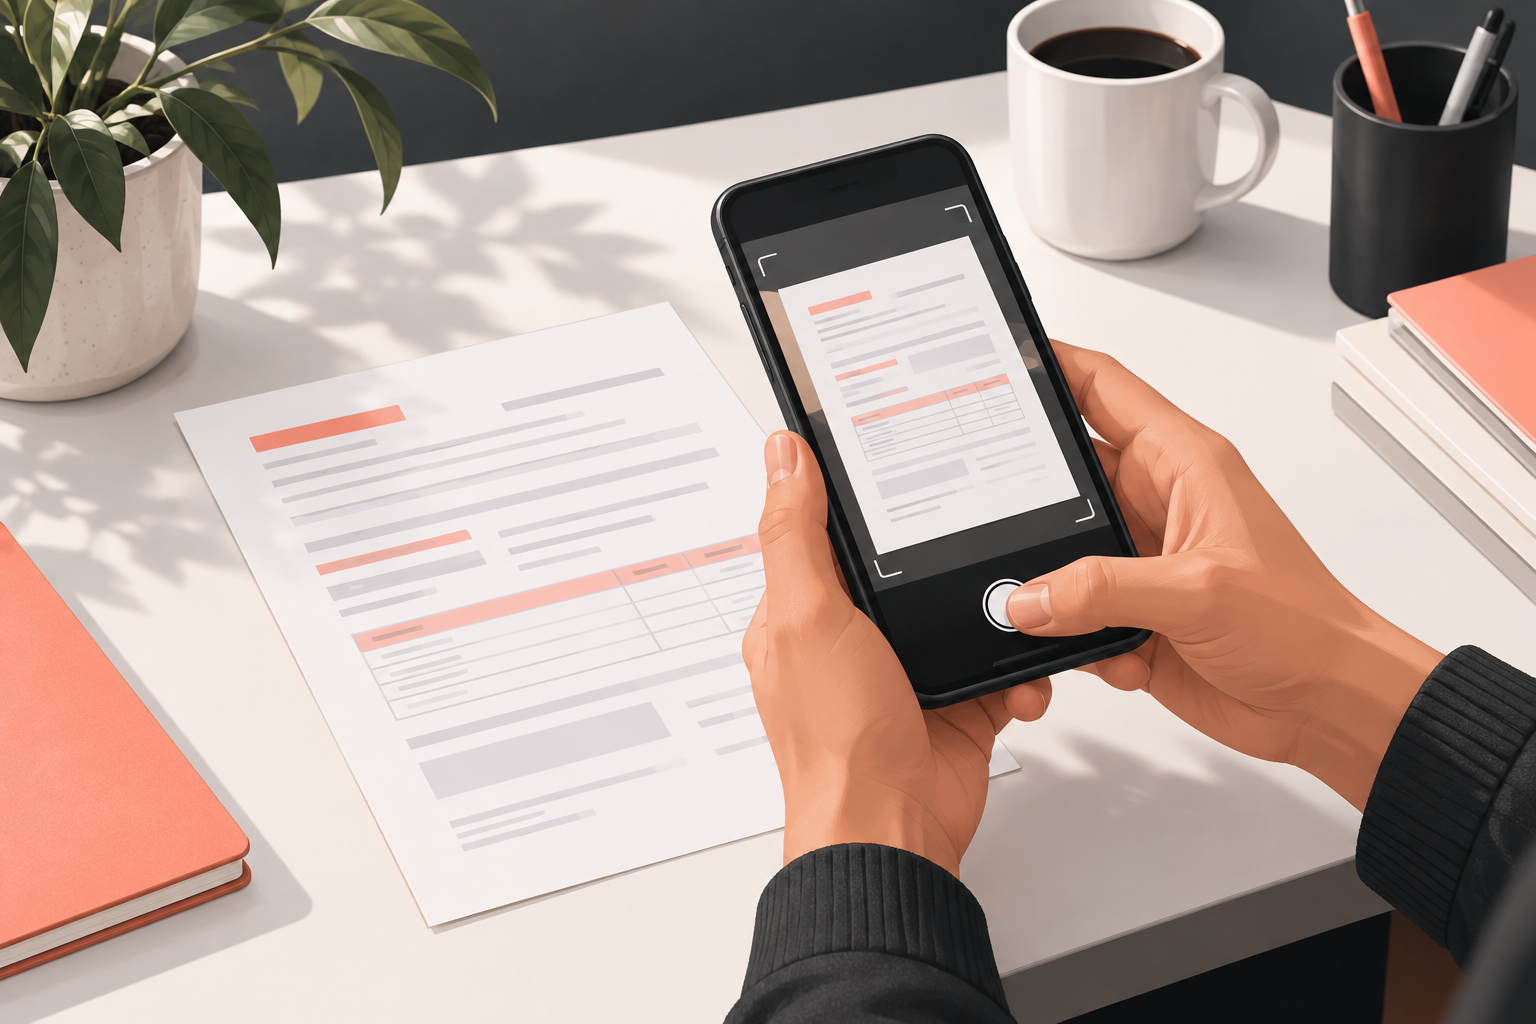
LowFax.com is a browser-based sending service that lets you fax paper documents after making a digital copy. Use a phone camera or document scanner to prepare the file, then upload it to LowFax.com for fax transmission.
The important part is making a copy the recipient can read. A successful transmission cannot correct a page that was blurry before it was uploaded.
Can your phone scan the paper first?
Apple’s scanning instructions explain:
“You can use the Notes app to scan documents and add signatures on your iPhone or iPad.” — Apple.
In Notes, open a note, choose the attachment button and Scan Documents, capture the pages, adjust the corners, and keep the scans. Apple also documents scanning through the Files app and saving the result to a chosen location. On Android, Google Drive’s scanning guide explains capturing pages, adjusting the crop, adding pages, and saving as a PDF. Review the saved file before choosing it in the fax uploader.
Paper-to-fax workflows remain relevant in some markets. A January 2024 survey published by Japan’s Communications and Information Network Association found that 40.1 percent of approximately 4,000 employed respondents aged 20–69 used fax daily or occasionally for work. CIAJ is an industry association, and this is a worker survey rather than a count of faxes sent. It supports the narrower point that fax still forms part of some workplaces’ routines.
Prepare the original pages
Complete the form and add any required signatures before scanning. Unfold the paper and lay it flat. Put the pages in their intended order so you do not have to work out the sequence later.
If the recipient has supplied instructions, check whether they require both sides of a page, supporting documents, or a reference number. Scan the pages they ask for, even if a back page contains only instructions relevant to the submission.
Make a clear digital copy
Use your phone's document-scanning feature if available, or a scanner you already have. A careful photo can also work when saved in an accepted image format.
For a phone capture:
- Place the paper on a plain surface in even light.
- Hold the camera directly above the page.
- Keep your hand and phone shadow off the writing.
- Capture all four corners without cutting off text.
- Review the result before moving to the next page.
Check each page at a size where the smallest important text is readable. Watch for glare, folded corners, dark borders, and missing signatures. Retake a poor image while the original is still in front of you.
Keep multiple pages organized
For a document packet, save the scans as one PDF when your scanning tool supports it. Review the sequence and rotate any sideways pages. Make sure no page appears twice and none is missing.
If you are uploading an image, check its format. A phone's default camera file may need exporting to an accepted format. LowFax.com lists PDF, DOC, DOCX, TIF, JPG, and PNG on its upload form.
Upload and send
Open LowFax.com, enter the sending details, choose the destination, and upload your prepared file. Confirm the recipient's fax number using their current instructions or direct contact.
Review the displayed total before paying. Keep the file you sent and the delivery receipt for your records.
Do you need a printer or phone line?
You do not need to print the digital copy or connect your own fax machine. You do need an internet connection, a readable file, and the correct destination number.
Choose between a scan and a photograph
A document scan usually helps straighten the page and separate it from the background. A normal photograph can still be useful if it captures the entire sheet clearly. The goal is a readable copy, not a particular capture method.
If you already have a flatbed scanner, it may be convenient for a small number of delicate or irregular pages. A document feeder may be faster for a larger packet, but watch for two sheets feeding together. A phone is often the simplest option when you need to capture a form away from your desk.
Whichever method you use, inspect the output before sending. An automatic scanner setting can rotate a page incorrectly, crop a margin too closely, or brighten away a faint pencil mark. Treat the preview as something to check rather than evidence that the scan is complete.
Set up the page before taking the image
Choose a flat surface with enough space to show the whole document. Move unrelated paperwork out of the frame so it cannot be included accidentally. A contrasting background can help you see the page edges.
Use even light that makes the writing clear. Direct glare on glossy paper can erase important detail in a photograph. If a ceiling light creates a bright reflection, reposition the page or your camera until the affected area is readable.
Flatten folds carefully without damaging the original. A crease can hide letters or cast a dark line across a form. If the original is fragile, use a capture method that does not require forcing it through a feeder.
For a long document, keep a simple physical sequence beside you: pages waiting to be captured and pages already captured. This reduces the chance of skipping a sheet while you are concentrating on the phone.
Check signatures, stamps, and small print
The easiest text to notice is often the large heading. The information that matters may be much smaller: an account reference, handwritten date, checked box, or signature near the bottom.
After capturing a page, zoom in on those areas. Check that a signature is visible rather than merely a faint blur. Review stamped information and handwritten corrections that cross printed lines. Make sure the camera captured the complete date rather than cutting off its final digits.
If one area is unreadable, retake the whole page whenever possible. An isolated close-up can be difficult for the recipient to connect to the main document. If a supplemental detail image is necessary, label and arrange it according to the recipient's instructions.
Keep in mind that some fax workflows produce monochrome output. A pale highlight or colored mark may not remain distinct. The underlying words and markings need to convey the meaning without relying only on color.
Capture both sides when needed
A physical sheet can contain information on its front and back. Look at the reverse before deciding it is blank. Terms, instructions, signatures, or continuation fields may appear there.
If both sides belong in the submission, capture them as separate pages in the correct order. When using a feeder, verify whether it scans one side or both. Do not assume duplex capture is enabled merely because the printer can print double-sided.
For a packet with mixed single-sided and double-sided sheets, review the finished file page by page. Automatic blank-page removal can be helpful, but check that it has not removed a lightly marked page. The receiving office's requirements should determine what you include.
Save a final copy you can find
Once the pages are captured, save them in a location you recognize. Open the final file from that location and review it again. This checks that you saved the finished packet rather than leaving it only inside a scanning tool.
Use a name that distinguishes it from earlier attempts. A clear name such as Completed-Form-Scan.pdf can help you select the right upload. Keep private identifiers out of the filename unless they are necessary for your own controlled workflow.
If the scan tool offers several export formats, choose one the sending service accepts. An exported PDF is often convenient for a packet because its pages remain together. For a single photo, check that the saved image is an accepted format instead of assuming every phone image works.
A practical example: a three-sheet form packet
Suppose you need to fax two completed forms and a supporting letter. One form has information on both sides. Start by putting the documents in the order the receiving office requests.
Capture the front and back of that form, the second form, and the letter. You now have four document pages from three physical sheets. LowFax.com always includes a cover page, so those four document pages become a five-page fax. Fill out the cover fields with clear routing details.
Open the finished file and confirm that every name, date, and signature is visible. Then compare the sequence with your physical originals. This quick comparison is often easier than trying to remember the packet after you have put the papers away.
Enter the destination details and upload only the reviewed file. Retain the originals and the digital copy until you know the receiving office has everything it needs.
Fix common capture problems before uploading
A page looks tilted. Retake it with the camera more directly above the paper, or use your scan tool's authorized straightening feature. Check that straightening has not cropped the corners.
The page has a dark band. Check whether your phone, hand, or another object cast a shadow. Move the light or capture position and try again.
Text looks sharp in the middle but blurry at the edge. Flatten the page and keep the camera parallel to it. Photographing at an angle makes it harder to capture the whole sheet consistently.
The file contains unrelated pages. Rebuild the packet or remove the accidental captures with a trusted tool. Inspect the new version before sending.
A scan is sideways. Rotate the page in the saved file where possible, then reopen it to confirm the rotation persisted. The recipient should not need to guess which orientation you intended.
What to do after a successful transmission
Save the delivery notice with the file you sent. A delivery record helps you identify the destination and the submitted packet, but it does not replace the organization's processing instructions.
If the recipient says a page is missing or unreadable, compare their report with the saved file. A problem visible in your copy calls for a better scan. If your copy is clear, ask which page and section they need and follow their directions for resubmitting.
Avoid repeatedly sending the full packet without checking the issue. Multiple versions can make it harder for an office to determine which submission to use. A clear cover message can identify a requested corrected transmission.
People Also Asked
Can I use a photo instead of a scanner? Yes, when the photo is clear, complete, and saved in a supported format. A document-scanning feature can make alignment and cropping easier, but you still need to inspect it.
Should I send several photos separately? For one packet, assembling the captures into a single reviewed PDF can make the order easier to manage. Follow the recipient's requirements for the submission.
Can I fax handwriting? Handwriting can be included, but faint or crowded writing needs careful capture. Review dates, signatures, and numbers closely before sending.
How LowFax.com counts and prices your fax
LowFax.com is a browser-based sending service. Your price is based on the actual number of pages in the fax, including the cover page that LowFax.com always includes. File size in bytes or megabytes does not determine the page count or price. A five-page document plus the cover page is a six-page fax, even if the PDF file is unusually small or large.
Each destination country has its own pricing. Any US dollar examples in this article apply only to US destinations; they should not be used to estimate the cost of sending to another country. Select the correct destination country in LowFax.com and check the price shown for your complete fax before paying.
Turn your paperwork into a sent fax
Prepare the scans, check the page order, and send your paper document online.
For the broader explanation, read LowFax.com’s guide to faxing without a machine.